I have two grade levels in my class this year, both grade 5 and 6. This creates a bit of a challenge when it comes to planning the year and how to manage covering the required curriculum. For the most part, I will be teaching the grade 6 material, as it is nearly impossible to teach all of both.
In the grade 6 Social Studies, the required material is Canadian history starting with, and including, Canada's first people, and then all the way to Confederation in 1867. We are still on the first unit. We are studying Canada's first people. The Northwest Coastal, Plateau, Plains, Subarctic, and Arctic Natives. Including all of the various included tribes.
When planning for the day, I seek to, as much as possible, try to find how one subject can mesh with another during the week. My art projects usually have something to do with Math, Science or Social Studies. This week month's art comes from Social Studies.
When studying about the NW Coastal Natives, we discovered that some of their art included paintings on cedar planks. I immediately thought of something we could do as a related art activity. I remembered those leftover bundles of cedar shingles from last-year's shed project.
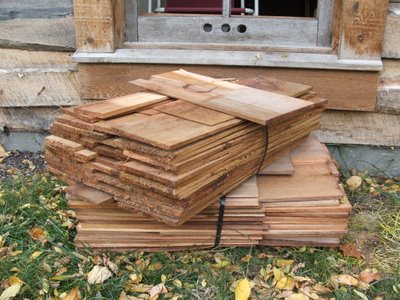 There are about 60 shingles per bundle and each bundle goes for about $20.00. They are No.4 Western Red Cedar shingles out of British Columbia. I felt good about this as that was the area of Canada we were studying.
The shingles are a little rough and quite porous, so I thought that they needed to be prepared before taking paint. I sanded a few more than what was needed for my class.
 I remembered a post of Andrea's where she was using Gesso to treat a wooden surface, so I decided to do the same thing. I put on two coats. I'm not sure if the second coat does anything but I did it anyways.
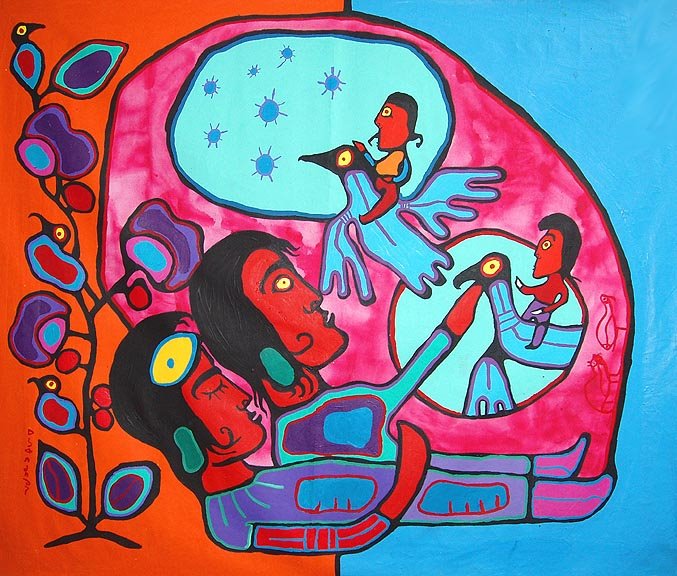
When it came time for the actual project, we looked around for some examples of Western Canadian Native art. A Google search didn't disappoint us. We were led to THE COGHLAN ART VIRTUAL GALLERY and the artwork of NORVAL MORRISSEAU.
I copied some of his paintings onto an overhead film and let the students choose which one they would trace onto their cedar boards.
 The reason I let them copy someone elses work was to have an immediately successful attempt. From my experience, much of young student's frustrations with art comes from self criticism as a result of failed attempts. My goal was to have them "create" something wonderful on their first try, even if it is "cheats art". My hope is that this success will be the impetus for further energy and confidence in the arts.
As with every art project I teach, I try to model the skills and medium needed for the project. I try to make it look as easy as possible. I modeled this project exactly as they would be doing it. This process is basically a glorified colour-by-numbers. The only thing different between mine and my students is that I did mine on a 19x22 prepared hardboard. My goal for the near future is to learn how to do this properly, in layers, not by small sections.
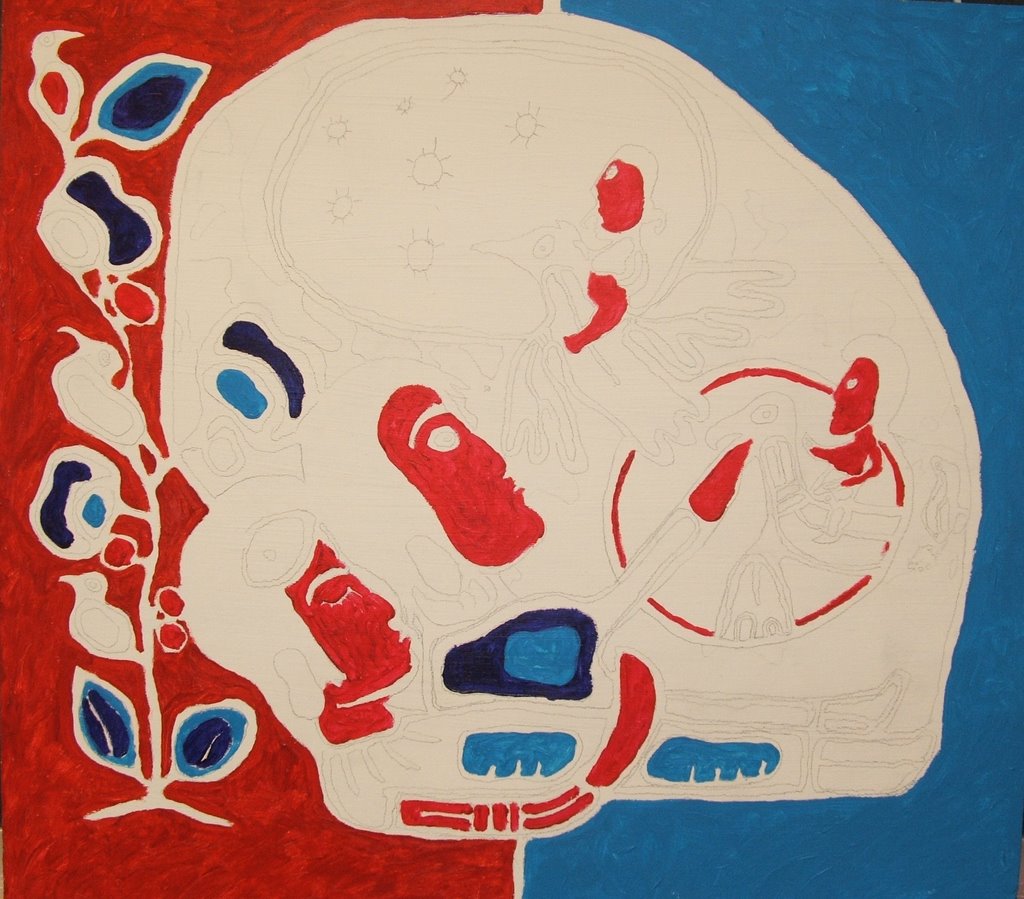
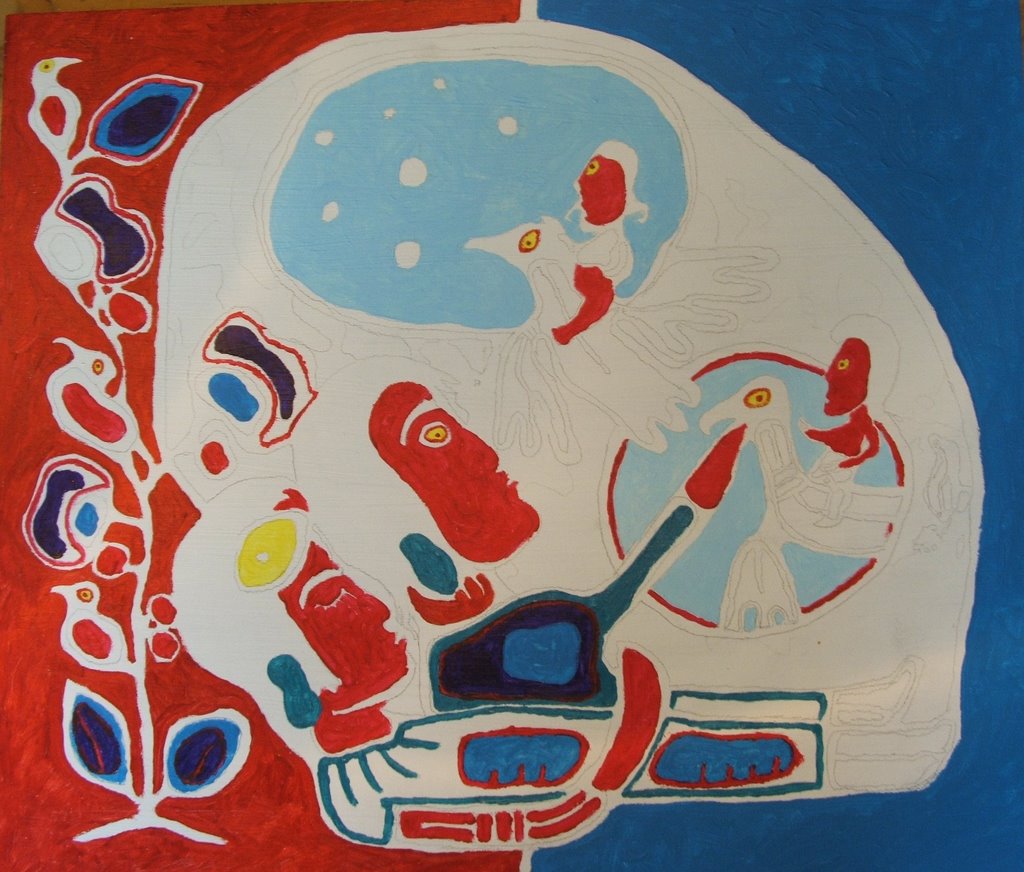
 The students are currently working on their paintings, and probably will for the next week or so. I'll post a group shot when they are all done.
The answer to the question of What makes a red man red is he wasn't really red, but the Beothuks painted their bodies and clothing with red ochre paint. Many "Indians" used red ochre as an insect repellant, but the Beothuks considered red a sacred color and wore it all year long. Neighboring tribes called them the Red People, and the Europeans called them Red Indians. Some Europeans started using "Red Indians" to refer to all Native Americans, not just the Beothuk tribe. Other tribes strongly dislike this term, though. They consider "Red Indian" a racial insult, and prefer to be called First Nations. The Beothuks were the original natives of Newfoundland, Canada. They eventually became extinct after the Europeans grew tired of dealing with them and began hunting them for sport.
Canadians have a rich history...albeit colonial.










 Stephen Fearing